1 How to Use AutoFormat to Insert a Line in Word2 How to Use the Horizontal Line Tool to Draw a Line in Word3 How to Insert a Horizontal or Vertical Line in Word4 How to Draw a Line in Word with the Shapes Tool5 How to Make a Vertical Line in Word and Separate Text into Columns6 Insert a Vertical Line in Word Using a Bar Tab7 How to Insert a Horizontal Line in Word Online8 Extra: How to Draw in Word9 Extra: How to Add a Page Border in Microsoft Word
Vertical and horizontal lines in Word are useful For example, you can add lines to a Word document by using symbols on your keyboard, the table tool, borders, shapes, drawing tools, or tabs. Typically, you’ll find that it’s harder to make a vertical line in Word than a horizontal one, but it’s still very much possible. You can even have the vertical line automatically split your text into two columns, which is useful if you’re making a newspaper or leaflet. We’ll show you this and more below:
How to Use AutoFormat to Insert a Line in Word
How to Use the Horizontal Line Tool to Draw a Line in Word
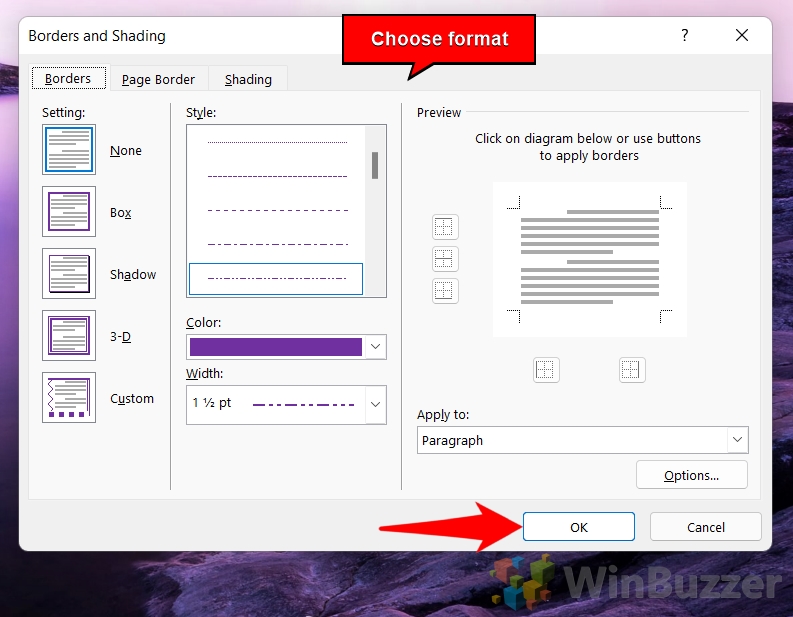
How to Insert a Horizontal or Vertical Line in Word
How to Draw a Line in Word with the Shapes Tool
How to Make a Vertical Line in Word and Separate Text into Columns
Insert a Vertical Line in Word Using a Bar Tab
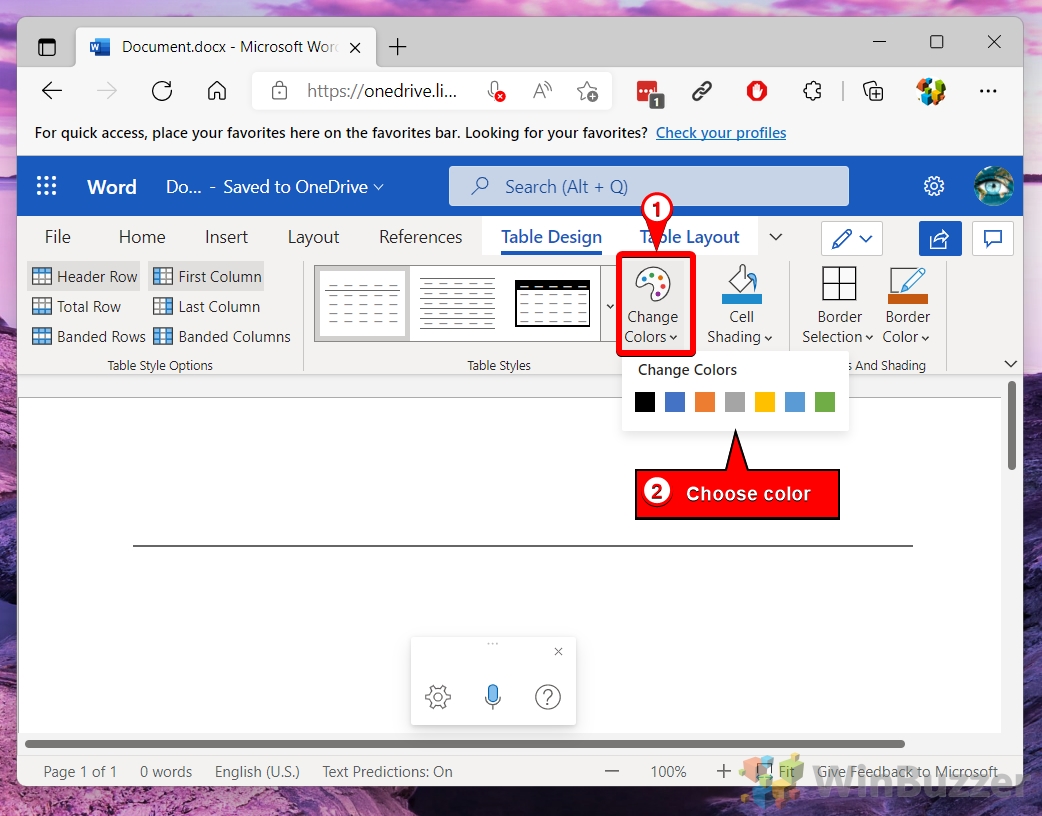
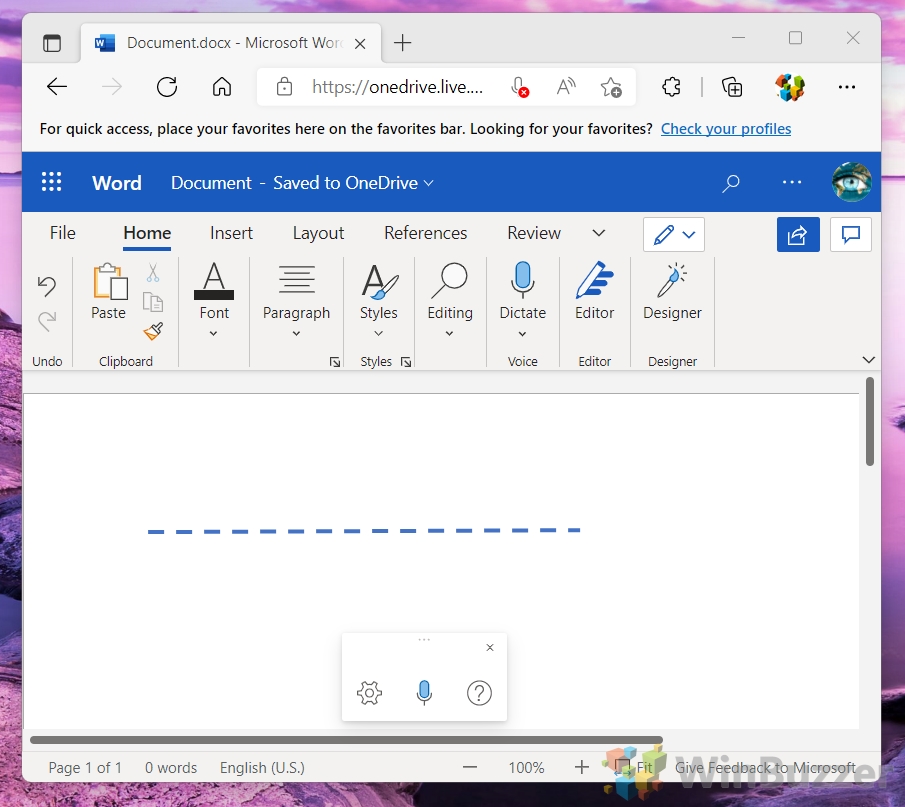
How to Insert a Horizontal Line in Word Online
Extra: How to Draw in Word
If you’d like to go further than just basic lines, follow our how to draw in Microsoft Word guide. It’ll walk you through adding various preset shapes and drawing freehand.
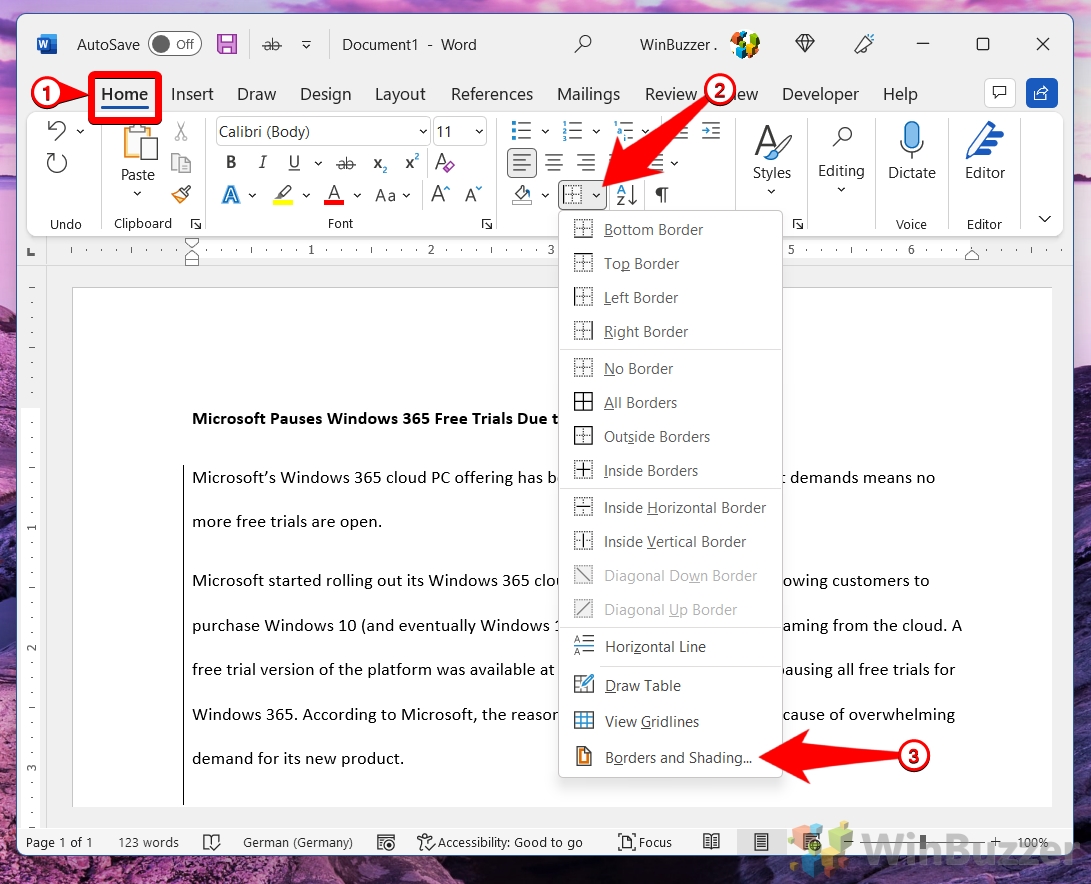
Select your text, open the “Home” tab of your ribbon, then press the border icon, followed by “Left Border” and/or “Right Border”.
Check the ruler of your document so you can get an accurate measurement.
Extra: How to Add a Page Border in Microsoft Word
If you’re looking to add horizontal and vertical lines around the entire perimeter of your document, check out our how to add a page border guide instead. It’ll get you where you need to be in a few short minutes.


